Friday, August 10, 2012

Skinny Sour Cream Enchiladas

Colleen: "I was disappointed by this dish. The tortillas gummed up into a mushy mess, I used the carb light flour tortillas, I think corn or whole wheat would have been a better choice. I also used the wrong condensed soup mix, I used cream of mushroom instead of chicken, simply because I thought I had chicken in the pantry and didn't. Maybe I would have liked it better if I had the correct ingredients. I was really looking for that Sour Cream taste and didn't really get it." 

Ingredients
• 16 oz. fat free sour cream
• 1 can fat free cream of chicken soup
• 1 tbls. fresh chopped cilantro (1/2 tbls. dried)
• 2 1/2 cups cooked shredded chicken breast
• 1 can Mexican Rotel
• 1 cup chopped onions (optional)
• 8 low carb tortillas
• 1 cup shredded pepper jack and colby cheese blend
• 1 can diced green chilies  
Directions
In a saucepan, mix together sour cream, soup and cilantro. Heat through and set aside.
Combine the chicken, rotel, onions and green chiles in a pan sprayed with cooking spray. Heat until onions are transparent. Or if you omit onions like I have done, for a few minutes to blend the flavors and juices.
Warm the tortillas until flexible. (I microwave them for 10 seconds sandwiched between two dam paper towels.)
Fill each tortilla with about 2 tbls. of the chicken mixture.
Roll the tortilla up and place seam side down (or they will unravel and you will be annoyed.) in a 8×11 dish sprayed with cooking spray.
Pour/Spread the sour cream sauce over enchiladas
Top with the remaining cheese
Bake at 350°F for 25-30 minutes until bubbly and cheese is melted.
Recipe sourced from skinnymom.com

Wednesday, August 8, 2012

Quesadilla Casserole

Colleen: "One of my girlfriends is having a baby in a few weeks so I decided to make her a casserole that would freeze well so she can thaw it out and eat whenever after those extremely exhausting days when they are adjusting to new baby. I made a few extra for my family too, I enjoyed this recipe. It's no secret that I love black beans & mexican flavors, but I think this recipe would be wonderful with ground turkey or no meat a all. I omitted the red pepper flakes & used minced fresh garlic instead of dried (because I couldn't find it). Hope you try this one out!"

Quesadilla Casserole
1 lb ground beef
1/2 cup chopped onion
2 tsp chili powder
1 tsp ground cumin
1 tsp dried minced garlic
1/2 tsp oregano
1/2 tsp crushed red pepper (optional)
16 oz tomato sauce
1 can (15 oz) black beans, drained and rinsed
1 can (8 3/4 oz) whole kernel corn, undrained
1 can (4 1/2 oz) green chilies, undrained
6 flour tortillas (8 inch size)
2 cups shredded Cheddar Cheese
1. Brown beef and onion in a large skillet on medium-high. Add tomato sauce, beans, corn and green chilies. Mix well. Stir in all of the spices except the red pepper. Bring to a boil, reduce heat low and simmer 5 minutes. Add red pepper to taste if desired.
2. Spread 1/2 cup of the beef mixture on bottom of 9X13 pan (sprayed with pam). I like to use the foil pans for freezer meals. Top with 3 of the tortillas, overlapping as needed. Layer with 1/2 of the remaining beef mixture and 1/2 of the cheese. Repeat with remaining tortillas, beef and cheese.
3. Double wrap with heavy duty foil and label. 
Cooking Instructions: Thaw and bake uncovered at 350 degrees for 15-20 minutes or until heated through. Let stand 5 minutes before serving.

Recipe sourced from Joyful Momma's Kitchen Blog

Friday, August 3, 2012

new recipes coming!!

Stay tuned, I've been out of town and not cooking the last week, but I am trying out several new recipes this week, stay tuned for updates!!

Thursday, July 26, 2012

Shrimp in Coconut Curry {Annah}


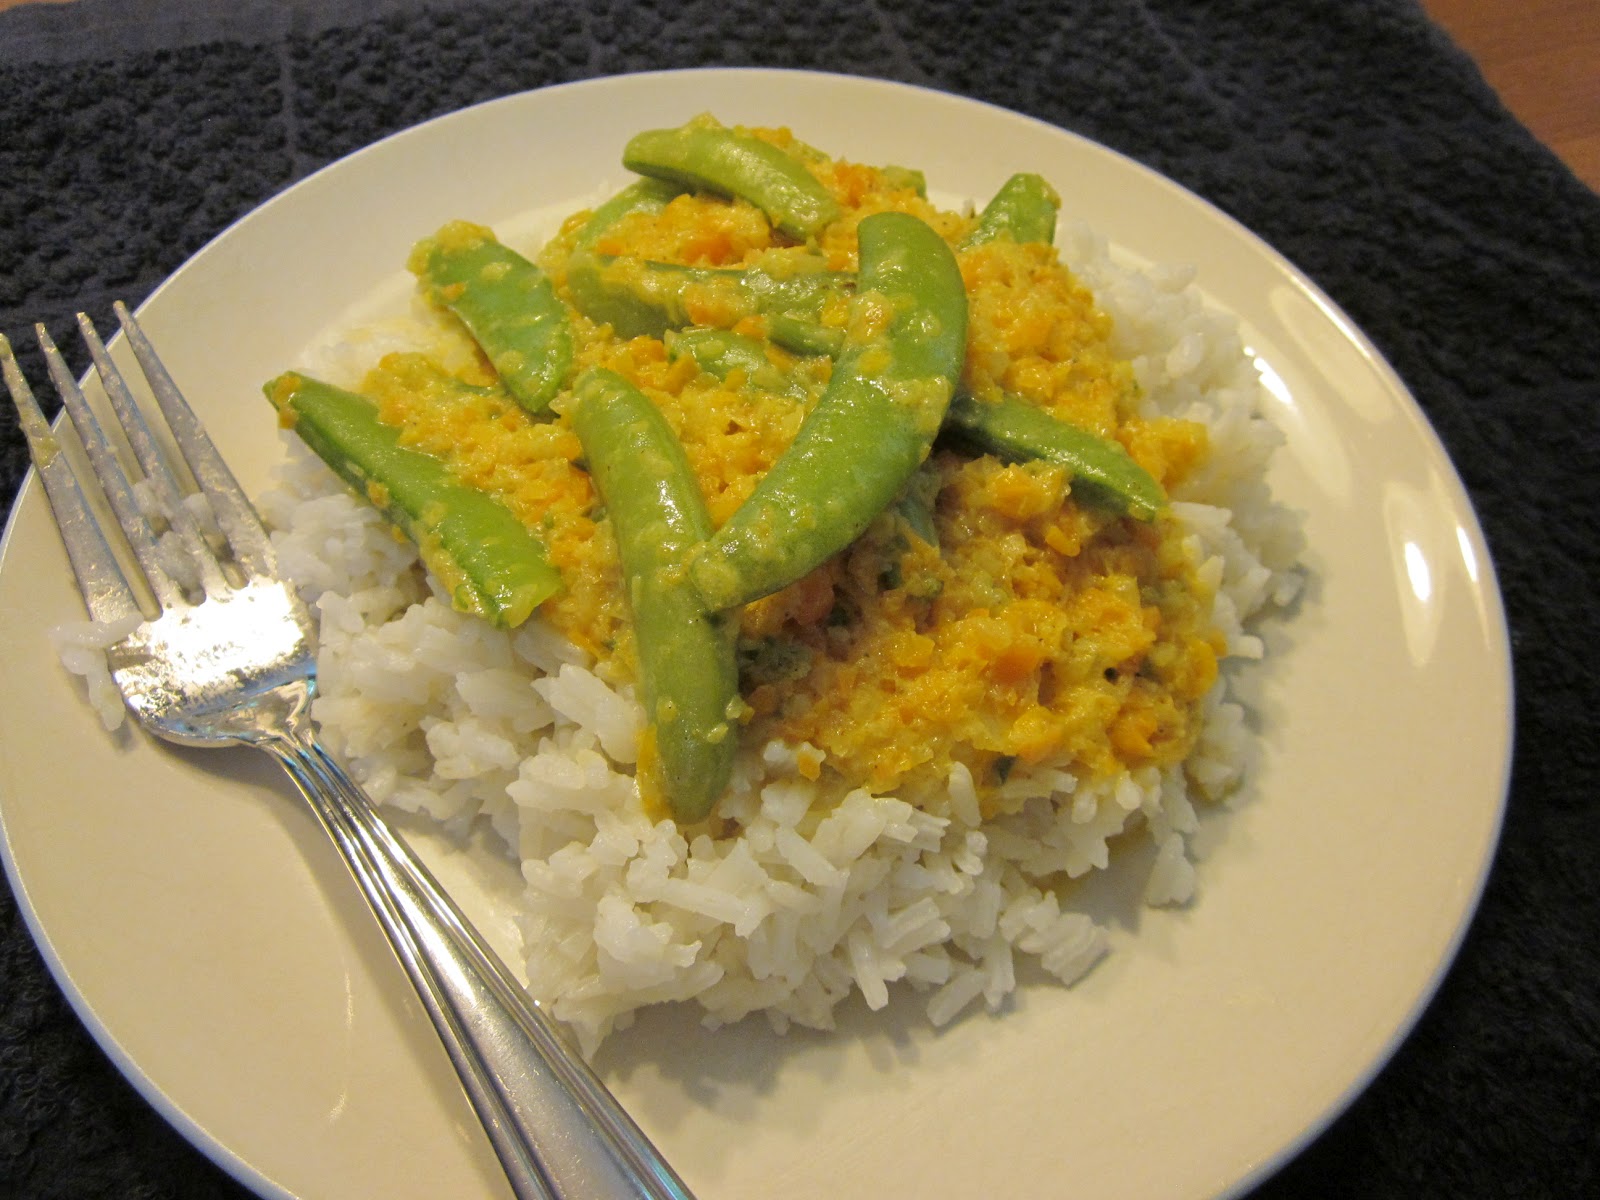
First you have to know by now that I did not add shrimp to my recipe. Instead I had some sugar snap peas that I threw in to replace the shrimp. I really liked that this recipe was easy to make. The hardest part was washing the food processor and two pots when I was done making the meal. I added a photo to the bottom of how I cut my chiles. I have on multiple occasions had the oil from chiles stay on my fingers for days, and it burns every time I take out my contacts. I know wrap Syrian wrap around my thumb and index finger to keep the oil from touching my skin.

I was disappointed in the lack of flavor for this dish. I thought with 2 Serrano chiles that there would have been a lot of heat. As I have come to find out from using coconut milk twice in the last month it really dulls the flavor. I had to add a decent amount of salt to make this interesting, and Tyler added Tabasco sauce. He did not enjoy the recipe, and will probably not be helping me eat the left overs. I enjoy medium heat Indian dishes, but I have yet to make one that I love. If I make this again I might add some garlic and garbanzo beans. It might help to cut back on the amount of coconut milk so it doesn't wash out the flavors.

If you have some beginner Indian curry dishes please leave me the recipe. I would love to try them and find an Indian dish that I can add to my monthly fall back dinners. 

Ingredients

  • 2 Serrano chiles, halved and seeded
  • 1 carrot, peeled and quartered
  • 1 onion, quartered
  • 3/4 ounce fresh ginger, peeled
  • 2 tablespoons vegetable oil
  • 1 13 1/2 ounce can  coconut milk
  • 1 1/2 teaspoons curry powder
  • 1 pound peeled, deveined shrimp
  • Salt

Directions 

Pulse Serranos, carrot, onion and ginger in food processor. Heat oil in skillet over medium heat; add vegetables and cook to soften, 3 minutes. Add coconut milk and curry powder and bring to simmer; add shrimp and simmer until cooked through, 3 to 5 minutes. Season with salt and serve over rice.

Wednesday, July 25, 2012

Philly Cheesesteak Sloppy Joes, my turn!

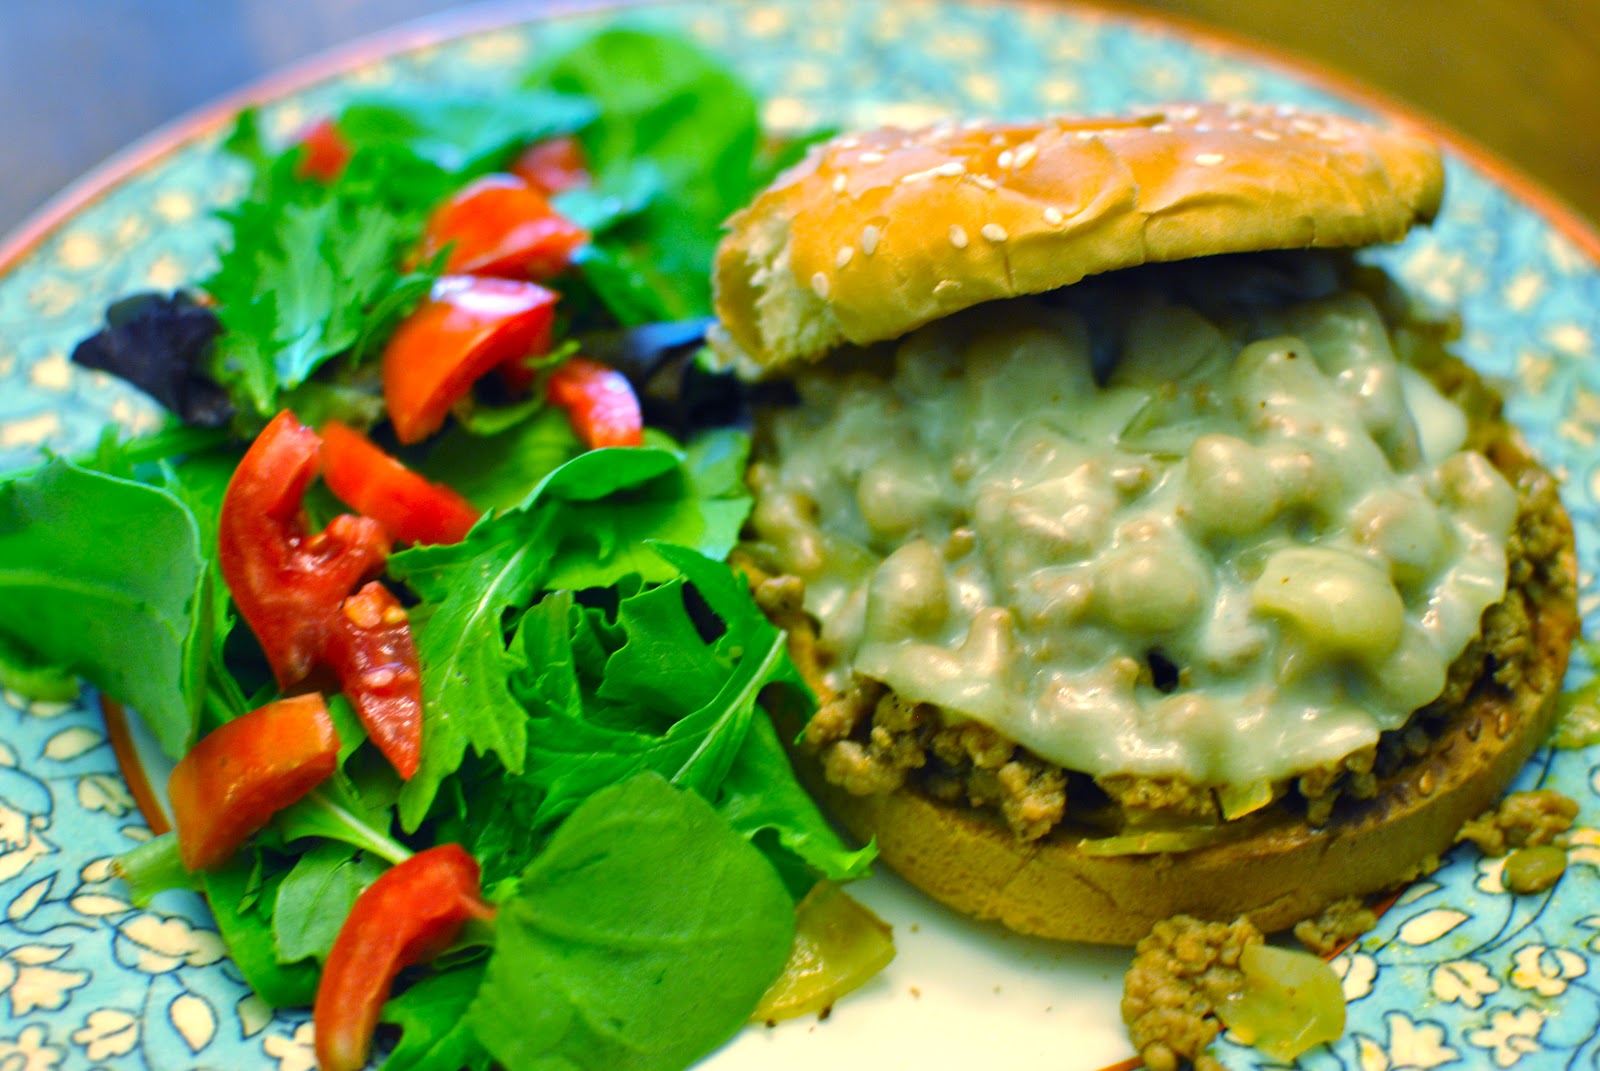
Colleen: "Earlier this month my friend Chandra guest posted for us cooking Philly Cheesesteak Sloppy Joes, after she told me about it I couldn't wait to try it for myself! Taking her advice I didn't make the cheese sauce opting for provolone cheese as well as using ground turkey instead of ground beef. It was a complete success that I will be making again. Not to mention I only used 5 ingredients!! Thanks again for this gem Chandra."


 For ingredient list & directions please reference Chandra's guest post here

Tuesday, July 24, 2012

Blueberry Pancakes {Annah}


I Love breakfast for dinner. I got two pounds of blueberries for free Woo Hoo, and I knew exactly what I was going to make with them, blueberry pancakes. I will admit I usually use a Bisquick mix or pancake mix when I make regular pancakes. There is no better time then today to make from scratch blueberry pancakes! 

We both really enjoyed these pancakes, the flavor was delicious. As you know from past post I am particular about textures of food. The flavor of these pancakes were spot on, but the texture was a little off. I enjoy soft fluffy cakes and these were a little more chewy/dense. Tyler thought I was crazy and thought that they were great the way they were. I guess I am a little bit of a pancake snob because I grew up with my dad making pancakes that were always delicious and fluffy.

If you have a large amount of blueberries I highly recommend making these.

Ingredients:

  • 2 eggs, separated
  • 1 1/2 cups sifted all-purpose flour
  • 2 1/4 teaspoons baking powder
  • 3 tablespoons sugar
  • 3/4 teaspoon salt
  • 1 cup milk
  • 3 tablespoons butter, melted
  • 1 cup blueberries, fresh or frozen, thawed

Preparation:

In a small bowl, beat egg whites until stiff; set aside.
In a separate bowl, sift together flour, baking powder, sugar and salt. Beat egg yolks in a medium mixing bowl; add milk and melted butter. Stir egg mixture into dry ingredients; mix until batter is smooth and stir in blueberries. Fold in beaten egg whites. Bake on hot greased griddle.
Makes 12 pancakes.

Saturday, July 21, 2012

Vanilla Cupcakes and Product Review {Annah}


This was the first time I made cupcakes from scratch. It went ok, but I was not excited about the texture of the cupcake. I went to the store just to get the cake flour that this recipe recommends to give the cupcakes a lighter fluffier texture. Don't get me wrong they were not dense, but they did not come out light and fluffy like the box cake mix. The flavor of the cupcake was good though. I will use the cake flour again, but probably try another recipe for vanilla cupcakes. If you do make these cupcakes do not be shocked when the cupcake mixture is really liquidy compared to box mixes. I like a fuller cupcake so even though it says the recipe will make 15-16 cupcakes it only made 11-12 for me.

Now for the product review of Duncan Hines frosting creations. I had a coupon for them and saw on another blog someone who tried the mix-ins and enjoyed it. Darn coupons always getting you to buy things you wouldn't usually! The frosting can is bigger then the others, but don't be fooled there is not more frosting just more"room" to mix in the flavor packet. I choose to mix in the cotton candy flavor, and I was very happy with the final product. It truly tasted like cotton candy and was a fun change to the usual chocolate or vanilla. All in all I would buy the flavor packets if you want a funky flavor, but I would say skip on buying the special can. Just make your own frosting or buy a vanilla frosting that is on sale.

Ingredients 
1 1/4 cups cake flour
1 1/4 teaspoons baking powder
1/2 teaspoon baking soda
1/2 teaspoon salt
2 eggs
3/4 cup sugar
1 1/2 teaspoons pure vanilla extract
1/2 cup oil (vegetable, canola or extra light olive oil)
1/2 cup buttermilk
(or 1/2 cup milk plus 1/2 teaspoon white vinegar or lemon juice- add acid to the milk then set aside for 5 minutes before using)
Duncan Hines frosting creations cotton candy
Directions

Preheat oven to 350*F.
In a medium bowl, add cake flour, baking powder, baking soda and salt.  Stir together with whisk, and set aside.
In the bowl of an electric mixer, add eggs and beat 10-20 seconds.  Add sugar and continue to beat on medium speed about 30 seconds.  Add vanilla and oil, beat.
Reduce mixer speed to low and slowly add about half of the flour mixture.  Add half of the milk, then the rest of the flour and the rest of the milk.  Beat until just combined.  Scrap down the side of the bowl.

The batter will be thin. Pour batter into a muffin pan prepared with paper liners.  Fill liners about 2/3 full.
Bake cupcakes in pre-heated oven for 12-14 minutes.
Cool in pan 1-2 minutes, then remove cupcakes from pan (carefully) and finish cooling on a wire rack.
Frost when cupcakes have completely cooled 
This was supposed to yield 15-16 cupcakes. I only got 11-12 out of the above recipe.
Related Posts Plugin for WordPress, Blogger...